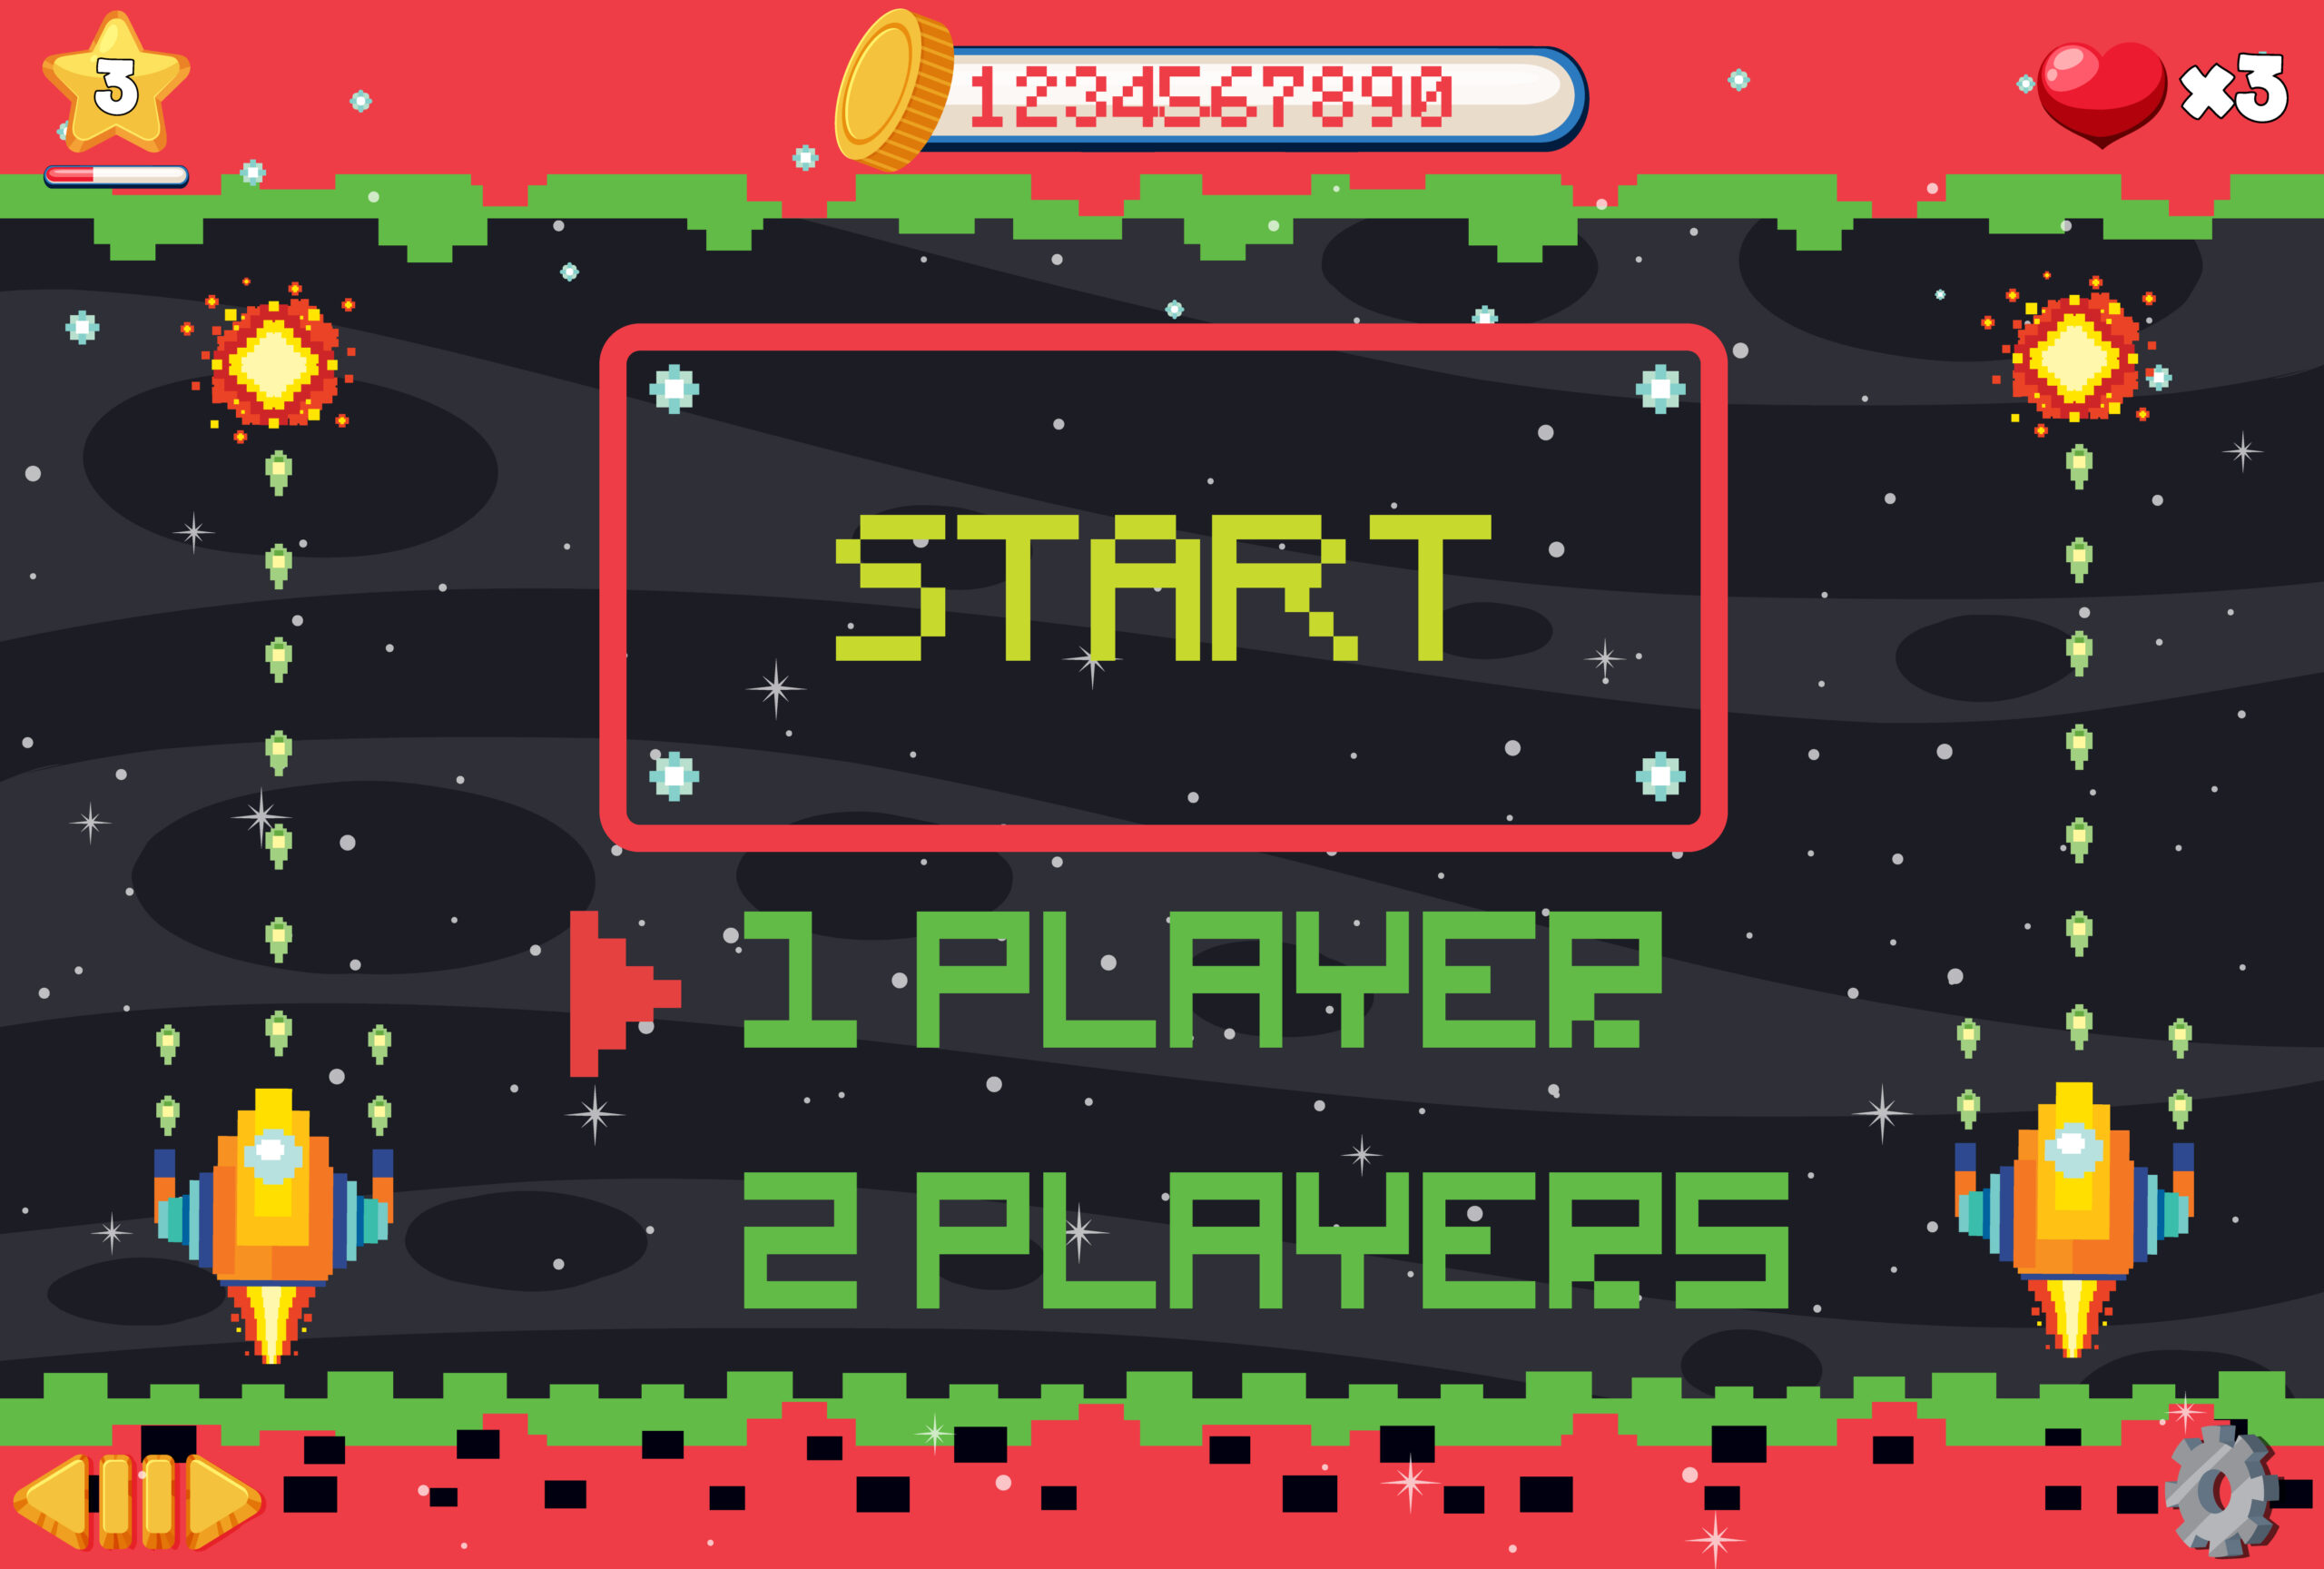
So, your game is starting to look pretty slick. The mechanics are tight, the art is popping, and that one epic boss fight you designed is already giving your playtesters a satisfyingly hard time. You’re daydreaming about launching on a global storefront, seeing players from all over the world diving into your creation. It’s a good vibe.
Then, a tiny, nagging thought pops into your head: “Oh, right. The text.”
Suddenly, the dream of a global release is haunted by the specter of "PlayerScore: " + score.ToString() scattered across a hundred C# scripts. The thought of manually finding and replacing every «Press Start» with «Presione Start» or «Appuyez sur Start» feels less like development and more like digital archaeology—tedious, fragile, and frankly, a nightmare.
Take a deep breath. We’ve all been there. But what if I told you that with a bit of upfront setup, you can make your game ready for any language, from the get-go, without breaking a sweat? This isn’t magic; it’s called internationalization (or i18n for the cool kids), and it’s one of the best investments you can make in your codebase.
Let’s break down how to architect your game for a painless, chill localization process.
The «Hard-Coded String Hangover» (And Why You Want to Avoid It)
We all do it. It’s fast, it’s easy. You need a UI label, so you just type:uiText.text = "Game Over";
It works! You ship the build. High fives all around.
Weeks later, your publisher asks for a German build. You open your project, do a find-and-replace for «Game Over» to «Spiel Ende», and call it a day. Then you realize:
- The German text is 30% longer and now bleeds outside your carefully designed UI box.
- You missed a «Game Over» in a script that only runs during a specific animation sequence. Oops.
- The Italian translator asks about the word «Start» in your menu—is it a verb («Begin») or a noun («The Start Button»)? Context matters, and your code gives them none.
- You need to send a massive
.txtfile of all your game’s text to the translator, who has zero idea what’s a menu item, what’s story dialogue, and what’s a debug log message.
This is the hard-coded string hangover. The headache comes after the initial convenience. It’s a recipe for bugs, missed strings, and countless hours of grunt work.
The solution? Stop writing text. Start using keys.
Your New Best Friend: The String Table
The core concept of i18n is beautifully simple: separate your game’s logic from its text content. Instead of writing the final text in your code, you write a unique, human-readable key that points to the final text.
Your code doesn’t say "Game Over" anymore. It asks for the string associated with the key "ui.game_over".
Where does it get the string? From a String Table (often called a localization or locale table). This is typically a simple file—like a JSON, CSV, or XML—that acts as a dictionary. It maps your keys to the actual text in each language you support.
A simple JSON string table might look like this:
json
{
  "en": {
    "ui.game_over": "Game Over",
    "ui.start_button": "Press Start",
    "dialogue.chapter1.greeting": "Hello, wanderer!",
    "item.health_potion": "Health Potion"
  },
  "de": {
    "ui.game_over": "Spiel Ende",
    "ui.start_button": "Start Drücken",
    "dialogue.chapter1.greeting": "Hallo, Wanderer!",
    "item.health_potion": "Heiltrank"
  },
  "ja": {
    "ui.game_over": "ゲームオーバー",
    "ui.start_button": "スタート",
    "dialogue.chapter1.greeting": "こんにちは、旅人さん!",
    "item.health_potion": "回復薬"
  }
}
How does this work in code? You create a simple LocalizationManager class—a single, central source of truth for all things text. Its job is simple:
- Load the appropriate language file (e.g.,
de.json). - When your game code says
LocalizationManager.GetString("ui.game_over"), it looks up the key in the loaded table and returns «Spiel Ende».
Suddenly, changing the language of the entire game is as easy as telling your manager to load a different file. No code changes needed. You can even hot-swap it live in the game’s settings menu. So chill.
Architecting for the World: Pro Tips
Setting up the table is step one. Here’s how to level up your i18n game and avoid common pitfalls.
1. The Key to Good Keys: Context and Structure
Your keys shouldn’t be "string_1", "string_2". They need to be meaningful and organized.
- Use Namespacing: Group related strings.
ui.,dialogue.,menu.settings.,item.,quest.. This keeps your table organized and helps translators understand the context. Is"light"a description of weight, or a source of illumination?item.weight.lightvs.item.description.lightmakes it crystal clear.
2. Taming the Expansion: Text is a Fluid Thing
English is a relatively compact language. German can be ~30% longer. Italian and Spanish can be ~20% longer. Finnish? Hold onto your hats. And then there’s Japanese, which can often be shorter.
If your UI is a rigid, pre-sized box, you’re in for a world of hurt.
- Design UI with Flexibility in Mind: Use text containers that can expand vertically or horizontally. Unity’s UI Layout groups and TextMeshPro are your friends here. Avoid fixed-width buttons where the text must fit perfectly.
- Assume Expansion: When you’re prototyping your UI in English, manually lengthen some text boxes to simulate a 30-40% increase. Does it still look good? Does it break onto a second line gracefully?
- Fonts Matter: Not every font supports every character. That cool custom font might have English letters but no Cyrillic characters for Russian or accented characters for French. Plan to have fallback fonts for different language families.
3. Beyond the String: Handling Variables and Formatting
You can’t just concatenate strings. "You found a " + itemName + "!" is a nightmare to translate because the word order changes in different languages. In English, the adjective comes before the noun. In French, it’s often after.
The solution is to use parameterized strings. Your string table entry includes placeholders.
In your table:
json
"quest.item_found": "You found a {0}!",
"quest.item_found_female": "You found a {0}!" // Example for languages with gendered nouns
In your code:
csharp
string message = LocalizationManager.GetString("quest.item_found", itemName);
Your LocalizationManager.GetString() method needs to be smart enough to take the string "You found a {0}!" and replace the {0} with the itemName parameter. This allows translators to place the variable wherever it makes grammatical sense in their language.
4. The Character Set Frontier: UTF-8 is Your Champion
Forget ASCII. It’s a relic. The only encoding you should be thinking about is UTF-8.
UTF-8 is the superhero of encodings. It can represent every character in the Unicode standard, which is basically every character from every writing system on the planet—English letters, Spanish ñ, German äöü, Japanese kanji, Korean hangul, Russian Cyrillic, and even emojis 🎮.
- Ensure your engine and code editor are set to save files as UTF-8.
- Make sure your string tables (JSON/CSV) are saved as UTF-8.
- Use fonts that support the Unicode glyphs you need.
Do this from the start, and you’ll never have to deal with the dreaded ????? or ö appearing in your game.
The I18n Starter Pack: Your To-Do List
- Build a
LocalizationManager: A simple, static, or singleton class that loads a language file and provides aGetString(key)method. - Create Your String Table Template: A
en.jsonfile with all your keys. This becomes your master reference. - Refactor Ruthlessly (But Gradually): Go through your code and replace every single hard-coded user-facing string with a call to
LocalizationManager.GetString(). It’s a great weekend project. Throw on some music and just power through it. - Set Up a Dummy Language: Create a
debug.jsonfile where every value is something like"XXXX"or">>> English Text <<<". This makes it visually obvious when you’ve missed a key or forgotten to hook up the localization system, as the placeholder text will scream at you from the UI. - Communicate with Translators: Your string table is your communication tool. You can send the JSON file directly to translators or import it into dedicated platforms like Localazy, Crowdin, or Lokalise. These tools provide translators with context, screenshots, and a better workflow than a raw text file.
Embrace the Chill
Investing in internationalization early feels like a slowdown. You’re writing more code and more files before you even have a «real» game. But it’s a classic case of slowing down to speed up.
The moment you need to add your second language, all that upfront work pays for itself ten times over. You’ll be the calmest developer in the room, because while others are desperately grepping through thousands of lines of code, you’ll just be emailing a single JSON file to a translator and clicking «Load» to see the results.
You’ve built a system. A robust, flexible, and professional system. And that means you can get back to the fun part: making a game that the whole world can enjoy.
Now go forth and localize. You’ve got this. 🌍✨